Customization
WonderForm Color Studio
Hi there, it's Nevrie, the co-founder of WonderForm.
In this guide I want to show you all the color customization possibilities you can achieve with WonderForm!
We understand that it's important to be able to customize as many elements as possible and to achieve the look that matches your website, this is why we have dedicated a lot of time to provide all the possible customization options.
So let's get started!
1. Login
To start, you'll need to login to your WonderForm account. You can do so by clicking on the following link: Login.
2. Access Color Studio
Go to the color studio page in the following link: Color Studio.
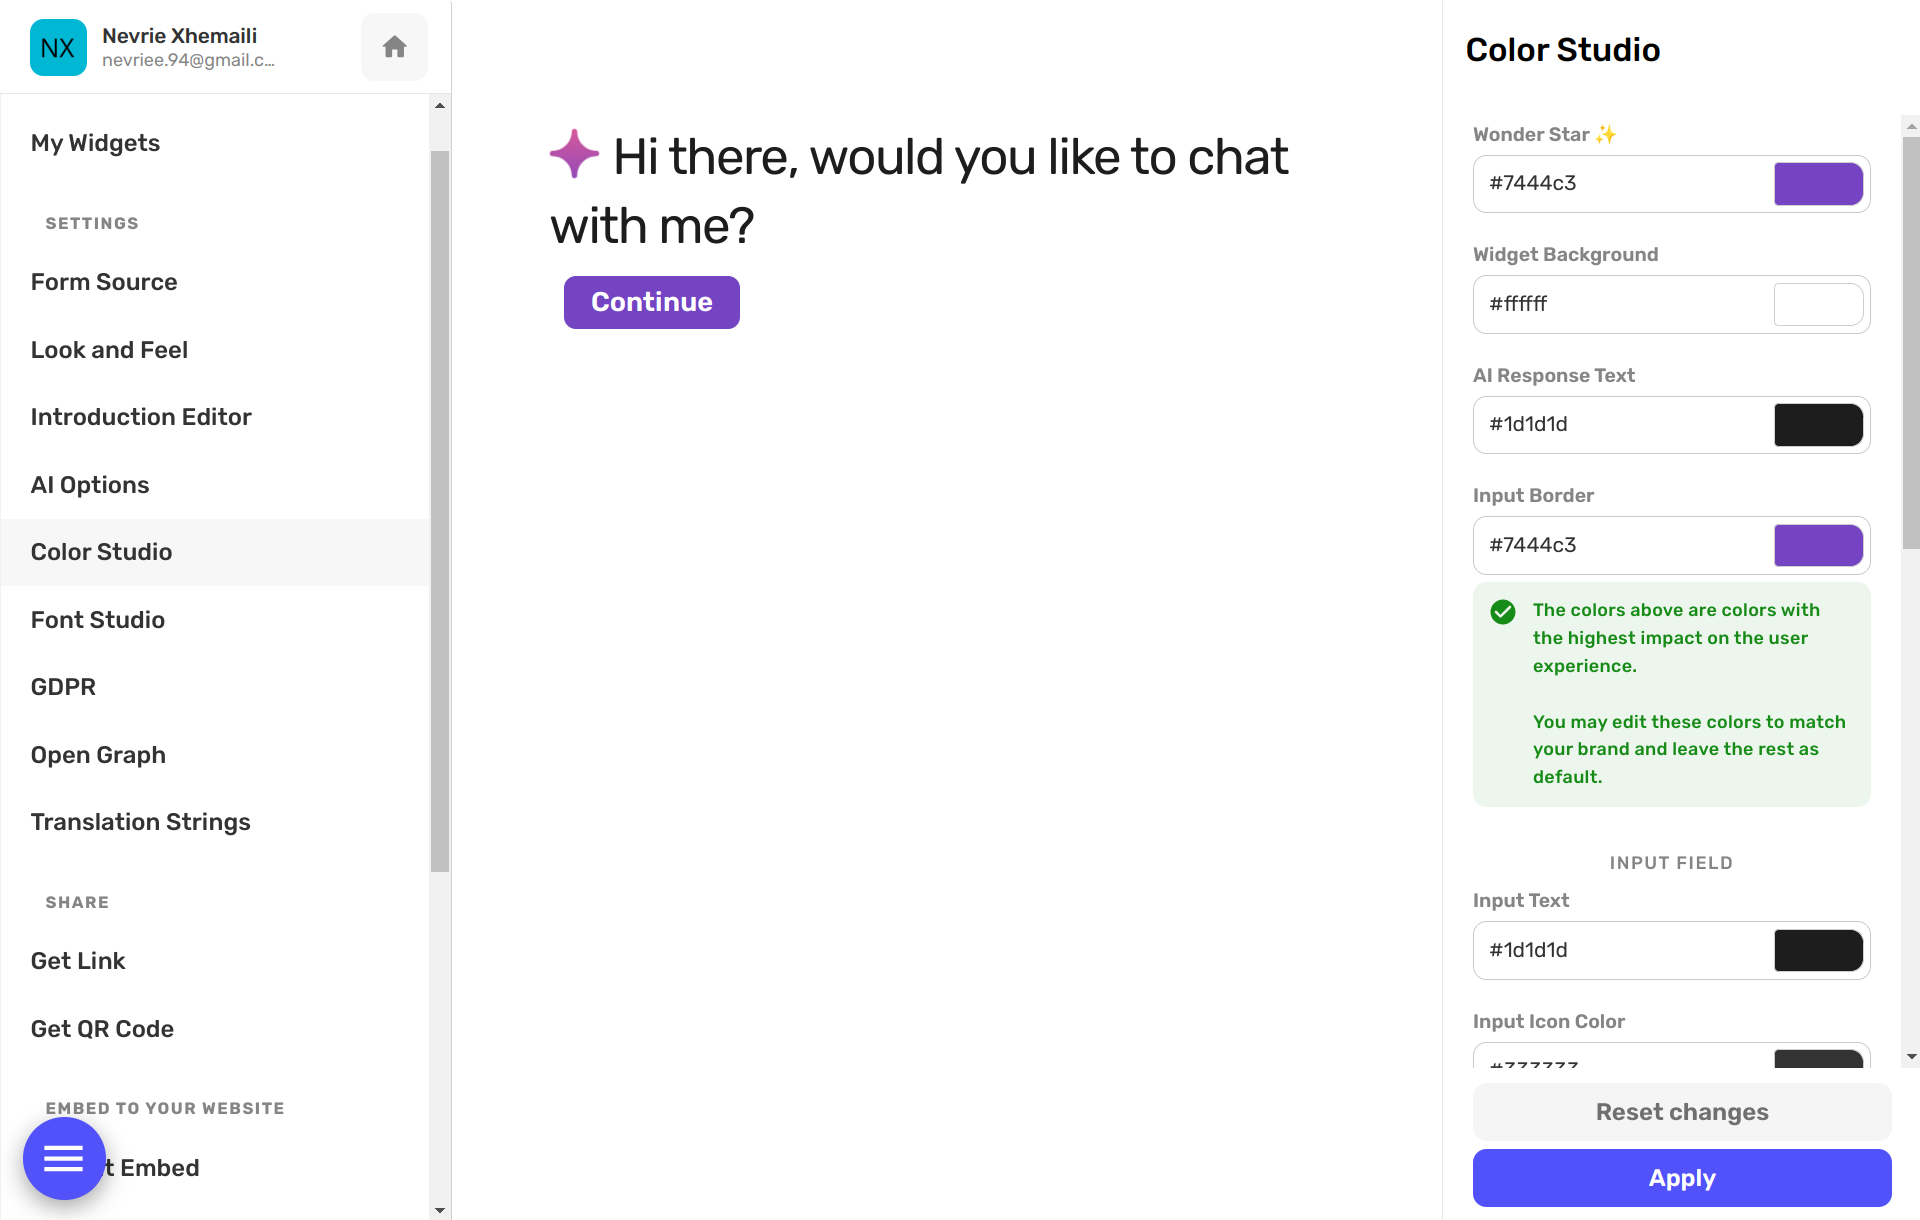
Once you are here, you will see all the possible color settings for the WonderForm widget.
Wonder Star: Represents the color of the AI star in the widget.
Widget Background: Represents the color of the widget background.
AI Response Text: Represents the color of the text, the questions.
Input Border: Represents the color of the input border, where you input your answers.
Input Text: Represents the color of the input text, where you input your answers.
Input Icon Color: Represents the color of the Speak and Send icons in the input field, where you input your answers.
Input Icon Background: Represents the background color of the Speak and Send icons in the input field, where you input your answers.
Button Text: Represents the text color of the buttons in the widget.
Button Background: Represents the background color of the buttons in the widget.
Share via URL Border: Represents the color for the border that appears when you share a WonderForm widget via URL.
Shadow: Represents the shadow color when the widget is in float mode.

That's it!
There are all the color options you can use for your WonderForm widget.
Pull out your palette and start painting. 🎨

