

Whitelabel & Business
Whitelabel Setup

Hi there, it's Nevrie, the co-founder of WonderForm.
In this article, I want to show you how to truly make the platform your own. Our Whitelabel feature is designed for agencies and high-volume operations that want to provide a seamless, fully branded experience to their clients or users.
With this setup, you can remove all WonderForm branding and host everything on your own custom domain.
Note: Whitelabel features are available exclusively on the Ultra tier.
So let's get started!
1. Login
To start, you'll need to login to your WonderForm account. You can do so by clicking on the following link: Login.
2. Set Your Dashboard Hostname
The first step is moving the dashboard itself to your own domain.
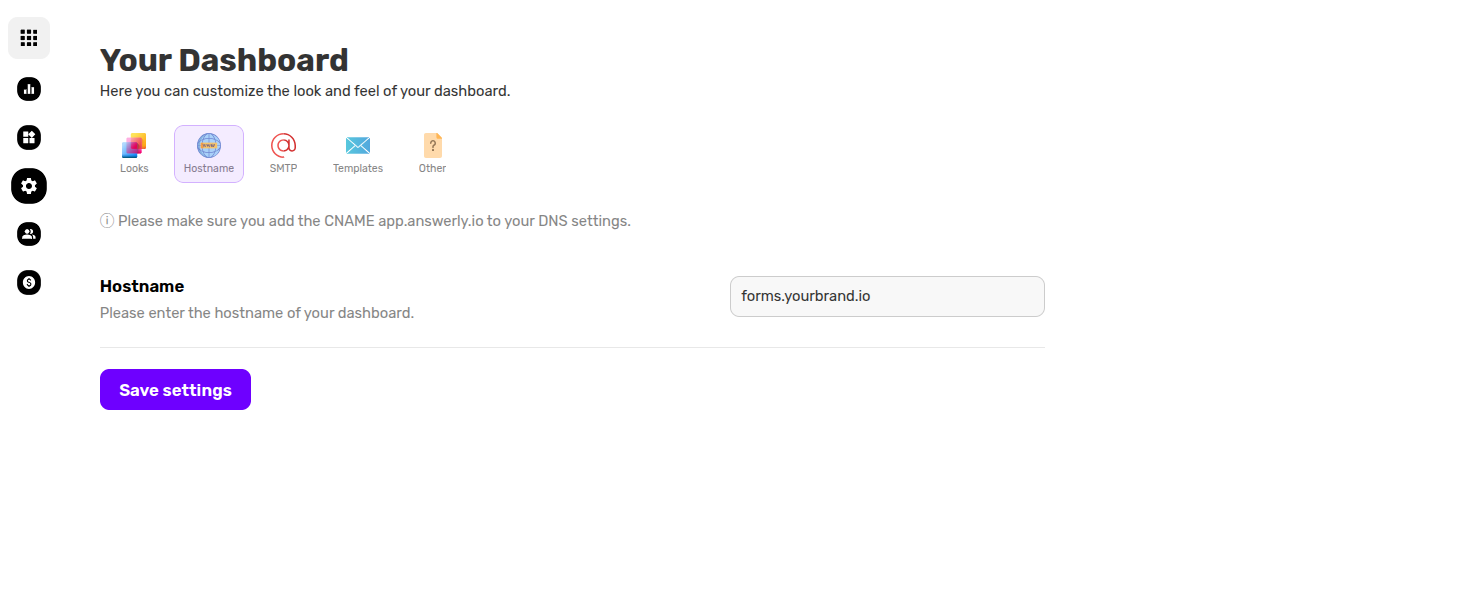
Go to your whitelabel settings and select the Hostname tab.
Enter the hostname where you want your dashboard to live (e.g., forms.yourbrand.io).
Important: You must add a CNAME record in your DNS settings pointing to app.answerly.io for this to resolve correctly.
3. Configure Link Sharing Hostname
Next, you want the forms you share with users to reflect your brand in the URL.
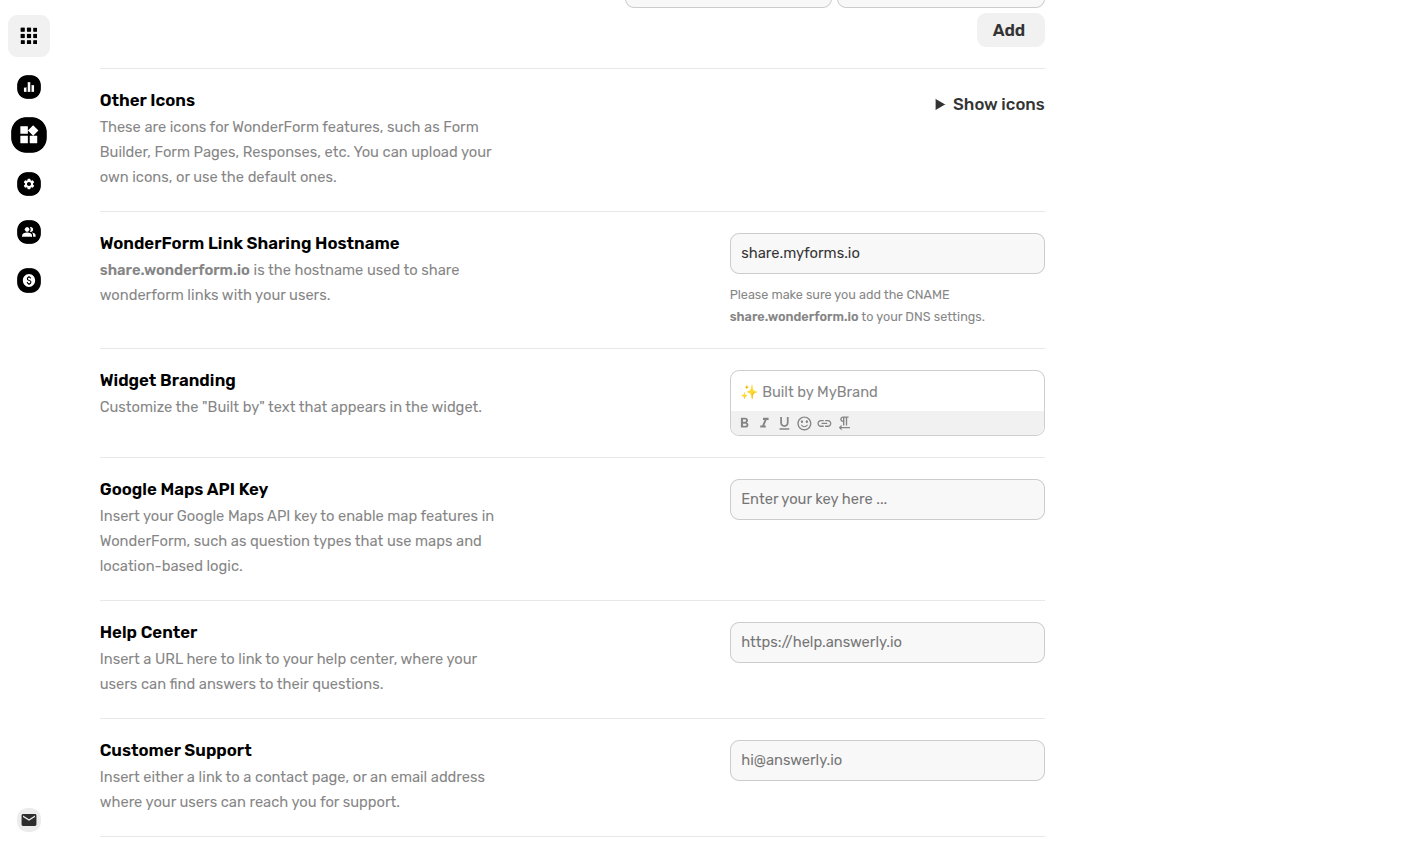
In your whitelabel settings, look for the WonderForm Link Sharing Hostname field.
Enter your desired link hostname (e.g., forms.yourbrand.io).
Important: Add a CNAME record in your DNS settings pointing to share.wonderform.io.
4. Rebrand Name and Logos
Now, let's change the "visual" identity of the platform:
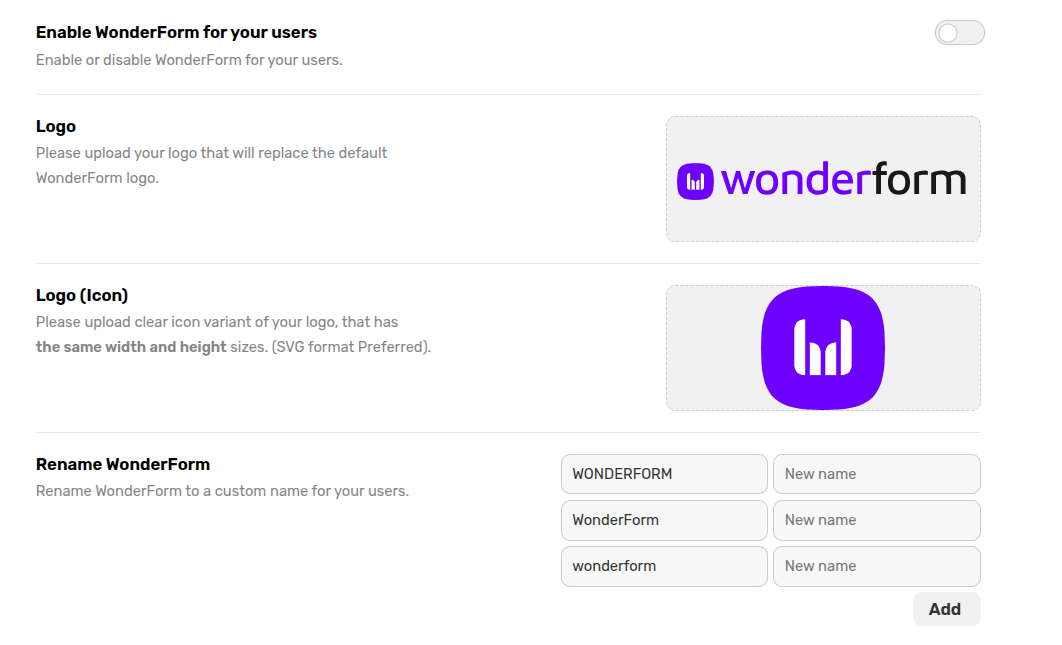
- Logo & Icon: Upload your primary logo and a square icon variant. These will replace the WonderForm branding throughout the interface.
- Rename WonderForm: You can actually rename the product itself. Enter your brand name in the fields provided to replace every instance of "WonderForm" with your own custom name.
5. Customize Widget Branding
If you are embedding WonderForm as a widget, you can even control the attribution text:
In the Widget Branding field, you can edit the "Built by" text that appears at the bottom of the form.
You can use the rich-text editor to bold your name or add links, ensuring your brand gets the credit.
6. Advanced Support & Help Center
To complete the transformation, you can insert your own Help Center URL and Customer Support email. This ensures that if your users have questions, they are directed to your team rather than ours.
Once you are done, click Save settings at the bottom of the page.
That's it!
You have now successfully architected a fully branded form platform. Your clients will never know we’re here—it’s all you!
Happy branding! 🚀